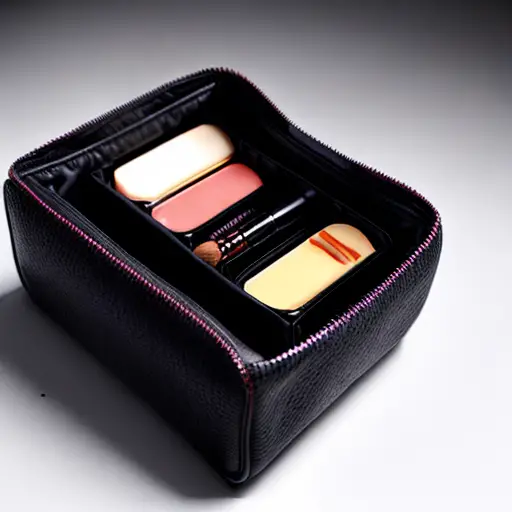
Essential Tools and Materials for Your DIY Makeup Bag
Alright, fellow makeup enthusiasts, let's dive into the world of DIY makeup bags! Now, before you embark on this creative journey, you'll need a few essential tools and materials to ensure your masterpiece turns out fabulous. First up, grab yourself some sturdy fabric, preferably in a design that screams 'I'm fabulous!' Next, you'll need a trusty sewing machine, because let's face it, hand-stitching can be a real pain in the foundation. Don't forget to stock up on colorful threads, zippers, and cute little buttons to add that extra touch of glam. Oh, and let's not overlook the importance of a good playlist to keep you grooving while you sew. So, gather your materials, fire up that sewing machine, and get ready to create the most envy-inducing DIY makeup bag ever!
Step-by-Step Guide: Designing and Cutting Your Makeup Bag Pattern
An interesting fact about making a makeup bag is that you can repurpose old jeans to create a unique and stylish bag. By cutting out the desired shape from an old pair of jeans, sewing the edges, and adding a zipper or button closure, you can transform something you no longer wear into a trendy and eco-friendly makeup bag. This not only gives new life to your old jeans but also adds a touch of personalization to your makeup storage.
Alright, my fellow makeup mavens, let's get down to business and design the perfect pattern for your DIY makeup bag! First things first, grab a sheet of paper and a pencil, because we're about to unleash our inner Picasso. Start by sketching out the shape and size you want for your bag, whether it's a classic rectangle or a funky asymmetrical design. Once you're happy with your masterpiece, it's time to transfer it onto your chosen fabric. Lay your pattern on top of the fabric and carefully trace around it, making sure to leave a little extra room for seam allowance. Now, grab those trusty fabric scissors and start cutting along the lines, channeling your inner Edward Scissorhands (minus the creepy demeanor, of course). And voila! You've just conquered the first step in creating your very own personalized makeup bag. Get ready to slay the DIY game!
Sewing Techniques: Assembling and Adding Functional Features to Your Makeup Bag

Alright, my crafty comrades, it's time to take our DIY makeup bags to the next level by mastering some sewing techniques! Once you have your fabric pieces cut out, it's time to assemble them. Start by placing the right sides of the fabric together and pinning them in place. Now, fire up that sewing machine and stitch along the edges, leaving a small opening for turning the bag right side out. Remember to backstitch at the beginning and end to secure your stitches. Once you've sewn all the way around, carefully trim any excess fabric and turn your bag right side out through the opening. Give it a good press with an iron to make it look extra polished.
Now, let's talk about adding some functional features to your makeup bag. One essential element is a zipper closure to keep all your beauty goodies safe and sound. Start by measuring the length of your zipper and mark the center point on the top edge of your bag. Place the zipper face down on the right side of the fabric, aligning the center mark with the center of the zipper. Pin it in place and use a zipper foot on your sewing machine to stitch along the edge, attaching the zipper to the fabric. Repeat the process on the other side of the zipper, making sure it's aligned properly. Once you're done, give it a test run to make sure it opens and closes smoothly.
Now, let's add some pockets to keep your makeup organized. Cut out rectangular pieces of fabric, fold them in half, and stitch along the sides, leaving the top open. Turn them right side out and press them flat. Now, position the pockets on the inside of your bag, pinning them in place. Stitch along the sides and bottom of the pockets, securing them to the bag. You can create as many pockets as you need, depending on your makeup collection. And there you have it - a makeup bag with functional pockets to keep your beauty essentials in order.
Lastly, let's not forget about adding some flair to your creation. You can sew on decorative buttons, attach a cute tassel or pom-pom, or even embroider your initials on the fabric. Let your creativity run wild and make your makeup bag truly unique. So, grab your sewing machine, unleash your imagination, and get ready to rock the world of DIY makeup bags!
Personalizing Your Makeup Bag: Creative Embellishments and Customization Ideas
Fun fact: Did you know that you can repurpose an old pencil case or a small toiletry bag to create your very own DIY makeup bag? By adding a few compartments and dividers using cardboard or fabric, you can easily transform an ordinary bag into a stylish and functional makeup organizer. It's a fun and budget-friendly way to personalize your makeup storage while reducing waste!
Now that you've mastered the art of sewing your own makeup bag, it's time to add a personal touch and make it truly yours! Get ready to unleash your inner artist and let your creativity shine. One fun way to personalize your makeup bag is by adding creative embellishments. Sew on some sparkly sequins or rhinestones to give it a glamorous touch. You can also attach fabric flowers or bows for a feminine and whimsical look. If you're feeling adventurous, try your hand at embroidery and stitch your favorite quote or design onto the fabric. Another great idea is to customize your makeup bag with fabric paint or fabric markers. Let your imagination run wild and create a masterpiece that reflects your unique style. So, grab your crafting supplies and get ready to make your makeup bag a true work of art!

